


ArtyWall
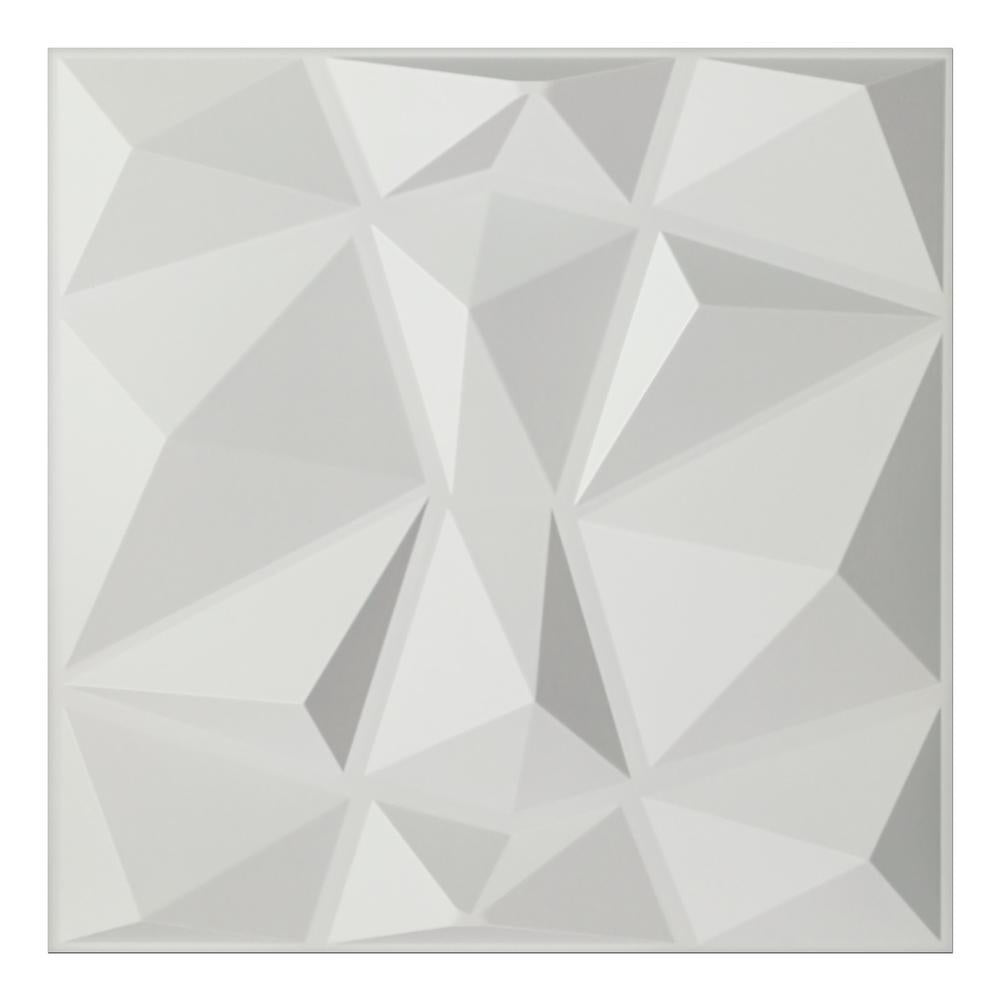
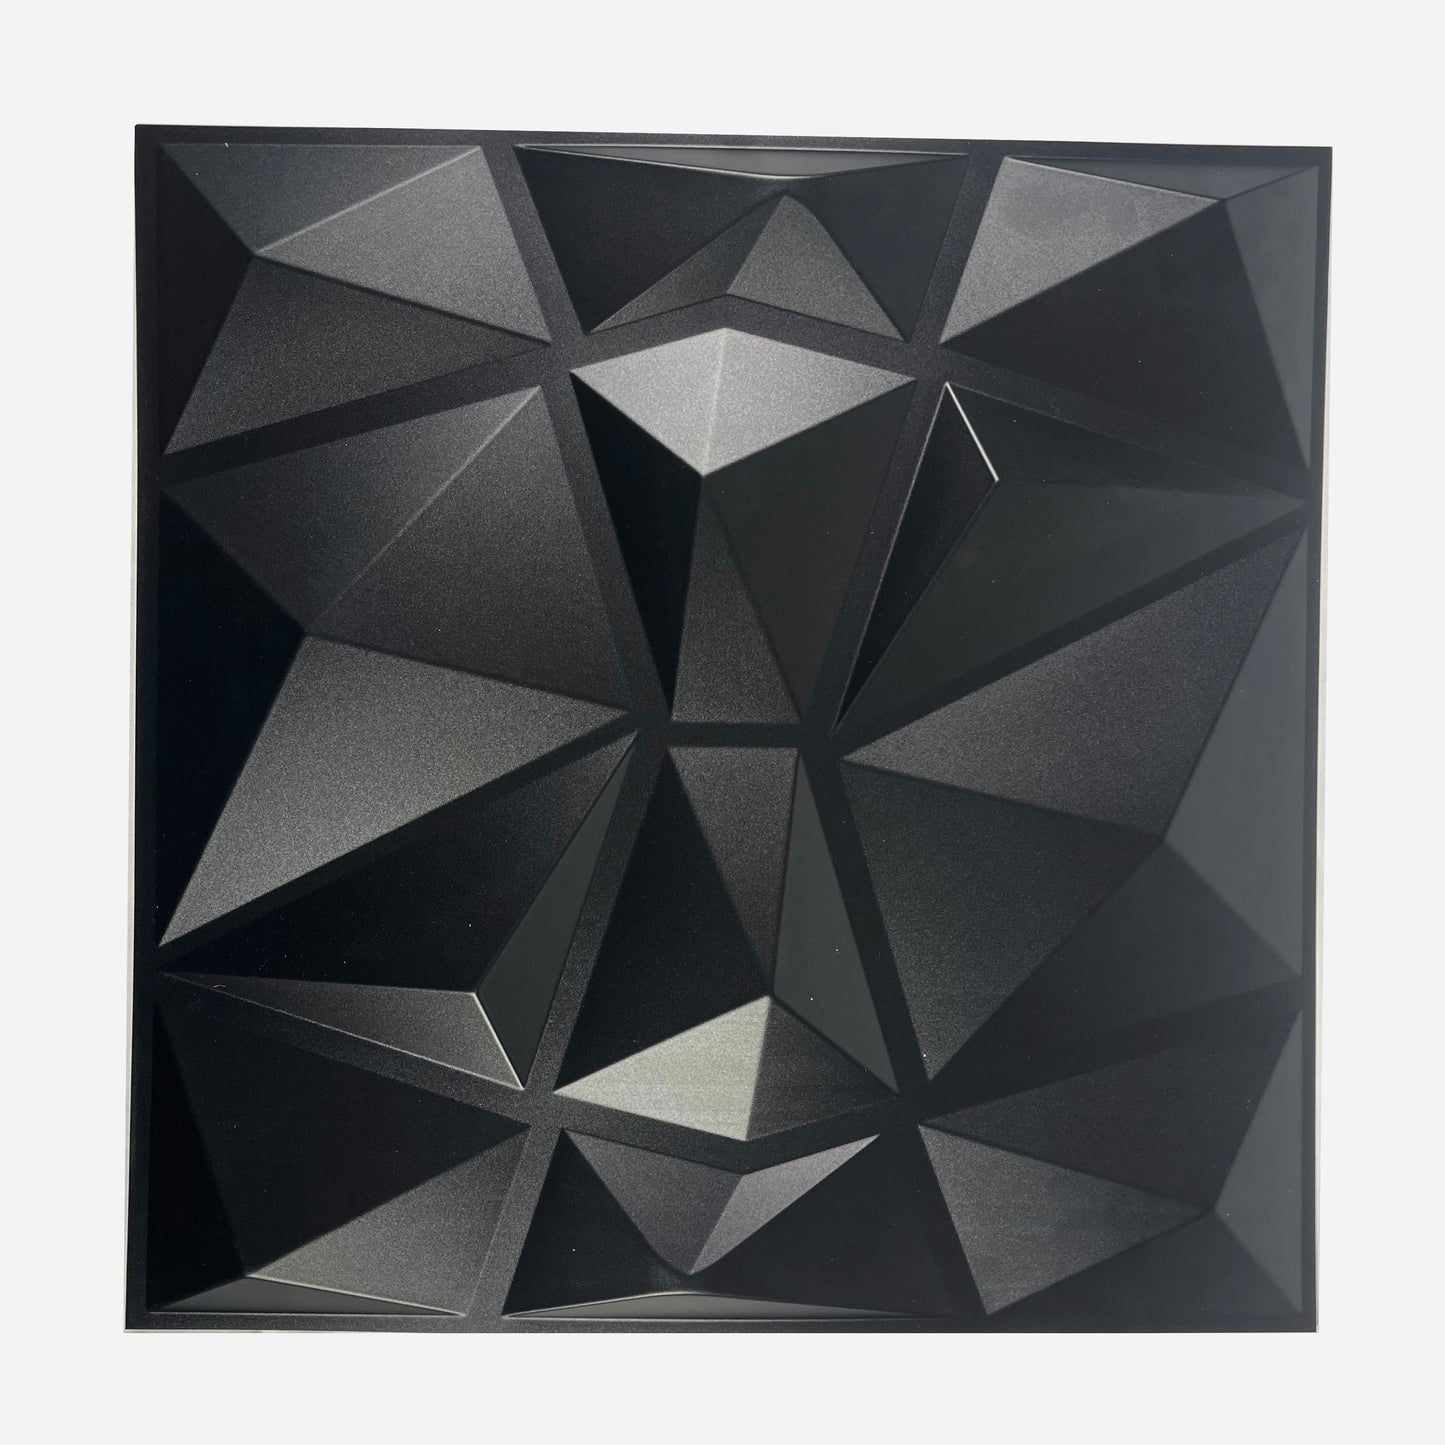
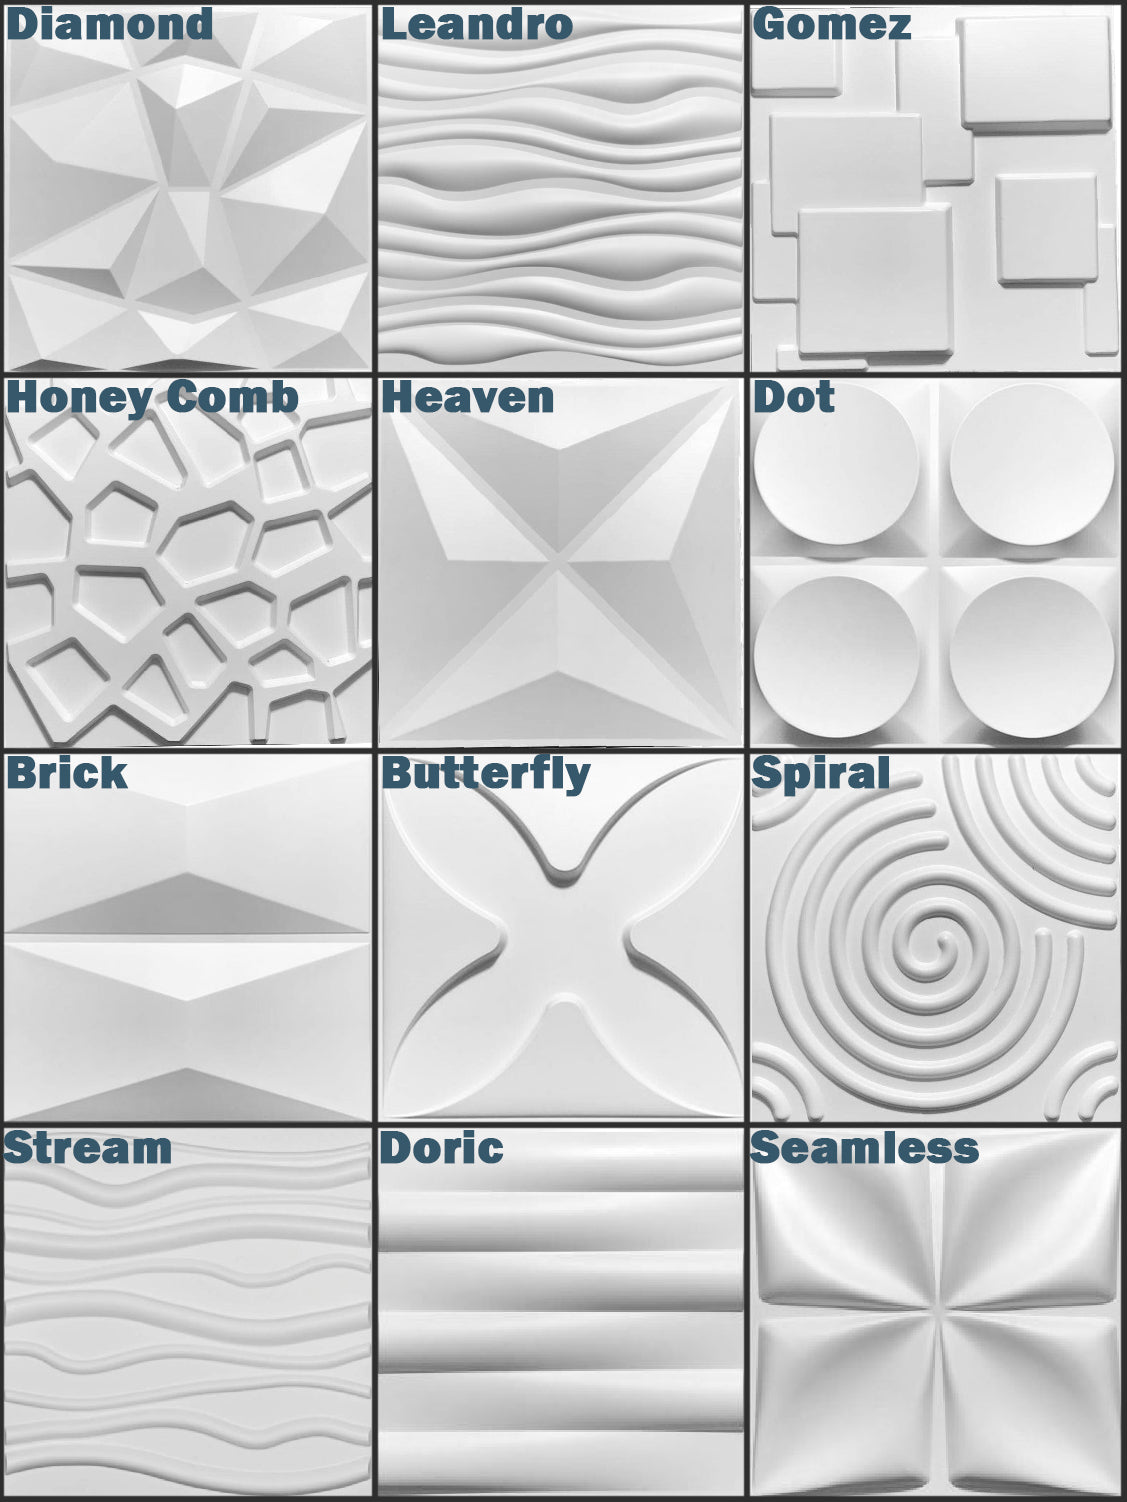
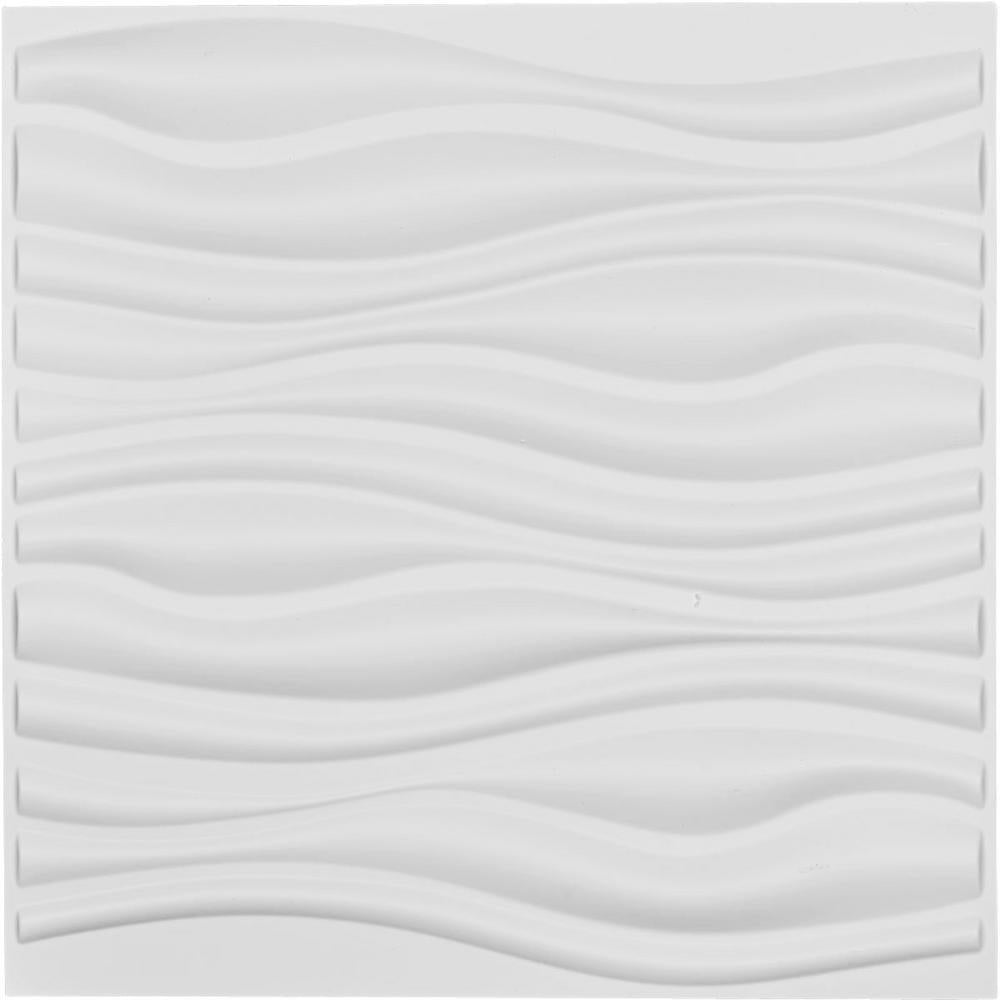
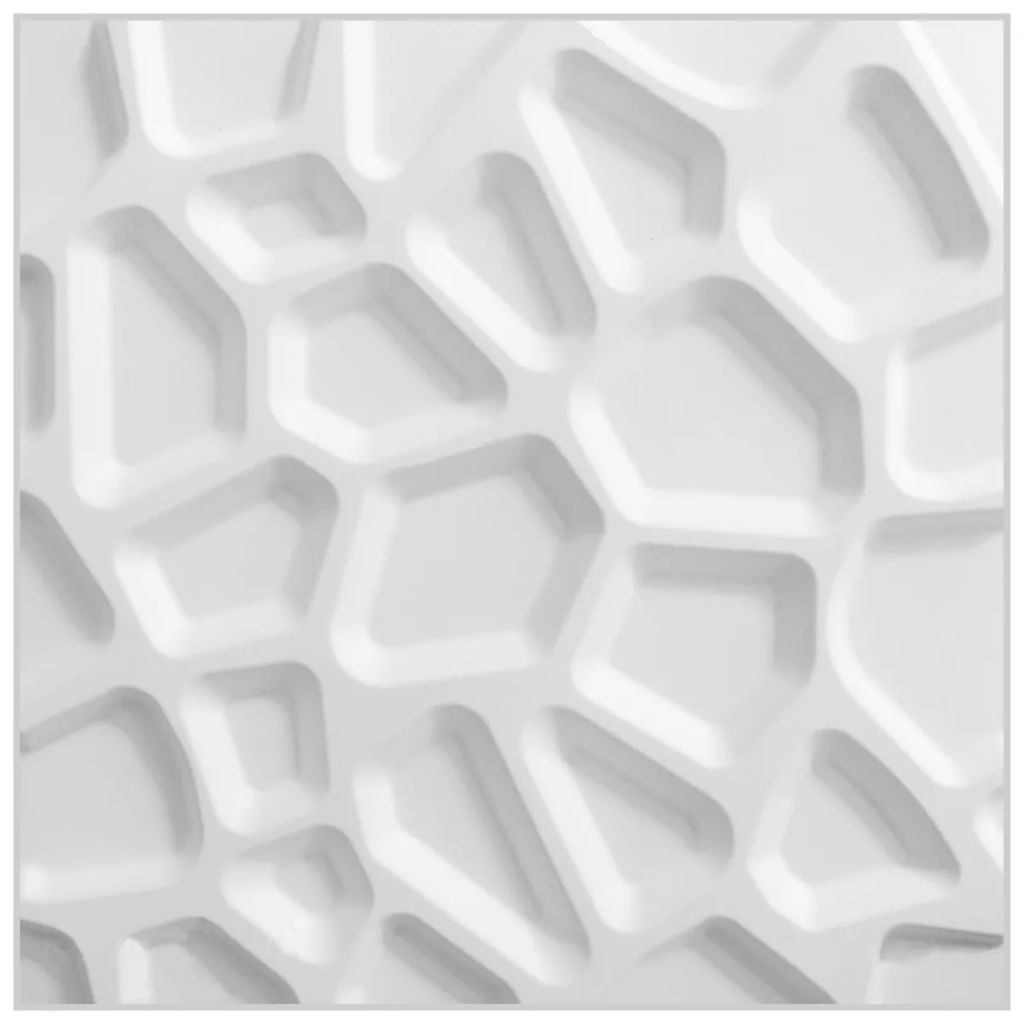
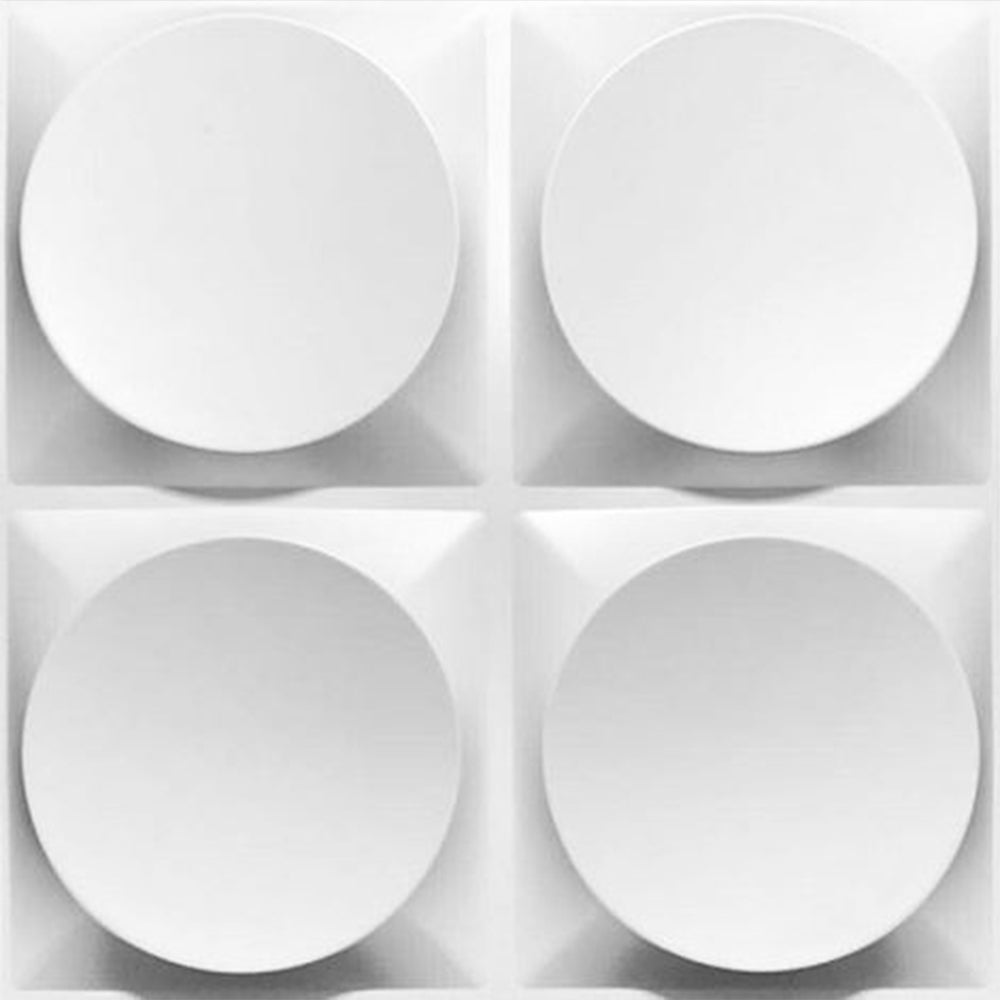
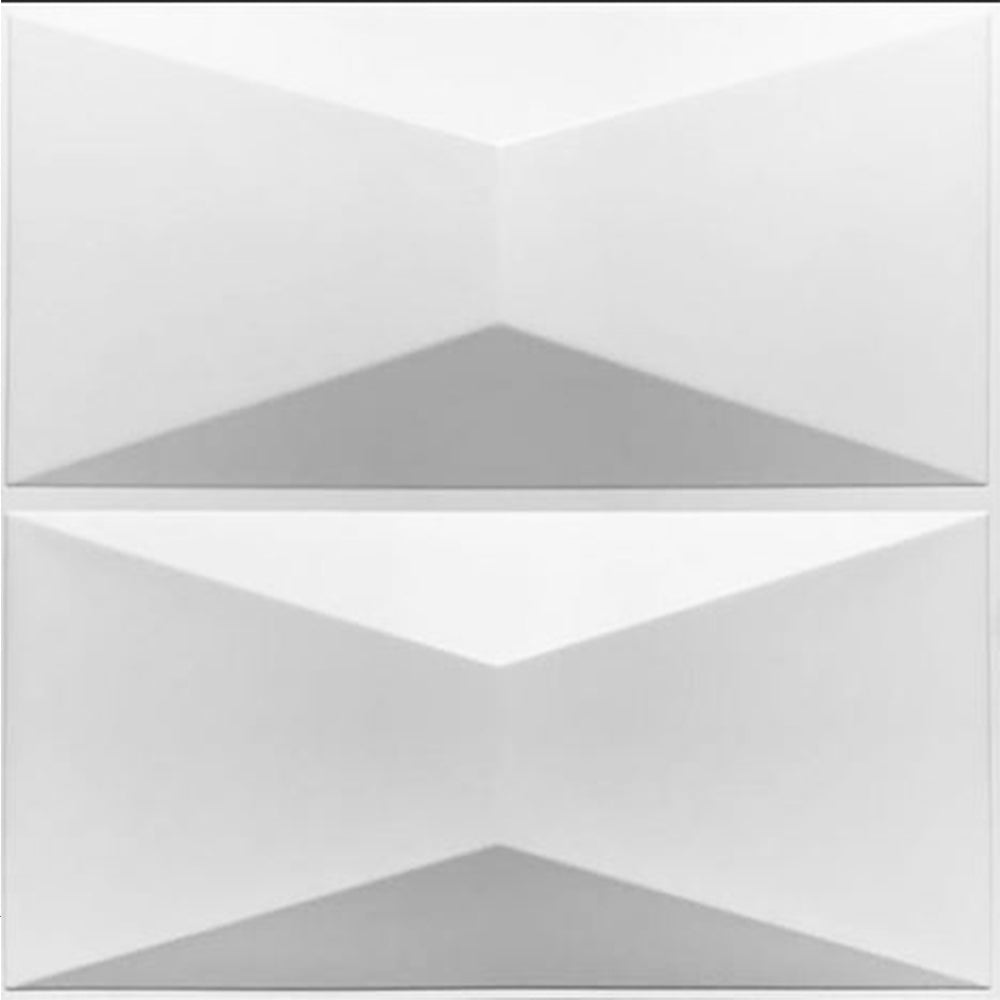
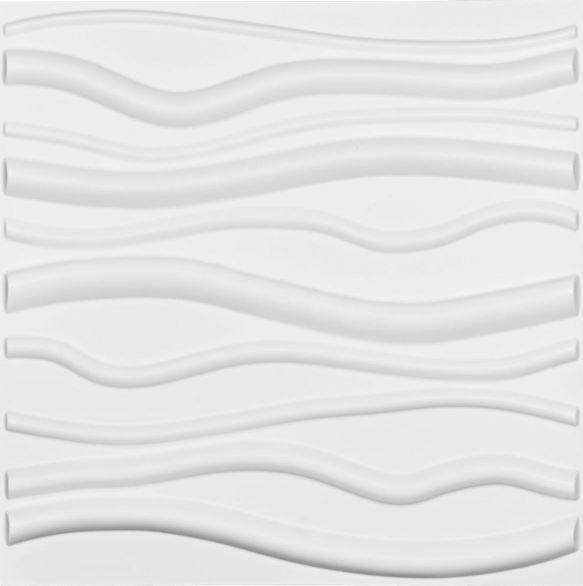
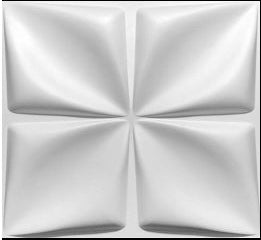
PVC 3D Wall Cladding Panels
PVC 3D Wall Cladding Panels
Regular price
£14.99 GBP
Regular price
Sale price
£14.99 GBP
Unit price
per
20% VAT included.
Shipping calculated at checkout.
Couldn't load pickup availability
- Every panel is 50cmx50cm, 0.25 square meter.
- 4 panels cover 1 square meter.
- This item is sold per square meter (4 panels).
- The panel can be painted by oil based spray paint into any colour.
- It is recommended to use silicon adhesive to fix the panel to the wall.
Shipping & Returns
Shipping & Returns
- DPD or ParcelForce Next-Day Delivery within UK mainland postcode.
- Highland, Ireland & Islands will be delivered within 3-5 working days, extra charges may be applied, please message us for more details.
- 30 days hassle free return.
Materials
Materials
PVC
Instructions
Instructions
Tools and Materials Required
Tools:
- Tape measure
- Spirit level
- Pencil or marker
- Utility knife or fine-tooth saw
- Sandpaper
- Adhesive applicator (caulking gun)
- Cloth or sponge
Materials:
- PVC 3D wall panels
- Strong adhesive (e.g., construction adhesive or panel glue)
- Optional: finishing trims
Step 1: Prepare the Wall
- Clean the Wall: Ensure the wall surface is clean, dry, and free of dust, grease, or loose paint. Use a damp cloth or sponge to wipe down the wall.
- Smooth the Surface: Fill any cracks or holes with filler and sand them smooth. For highly textured walls, consider sanding or applying a leveling compound.
- Mark the Installation Area: Use a pencil and spirit level to draw guidelines on the wall for panel placement.
Step 2: Plan the Layout
- Measure the Wall: Measure the width and height of the wall to determine panel placement and any cuts required.
- Dry Fit the Panels: Arrange the panels on the floor or against the wall to check alignment and fit. Adjust the layout to ensure a balanced design, especially at corners and edges.
Step 3: Cut the Panels (if needed)
- Mark the Cutting Line: Use a pencil and ruler to mark where panels need trimming.
- Cut Panels to Size: Use a utility knife for straight cuts or a fine-tooth saw for more complex shapes. Sand the cut edges lightly for a smooth finish.
Step 4: Apply Adhesive
- Choose the Right Adhesive: Use a construction adhesive suitable for PVC and compatible with the wall surface.
- Apply Adhesive to the Panel: Apply a zigzag pattern or dots of adhesive to the back of the panel. Focus on the edges and center for even adhesion.
Step 5: Attach the Panels
- Position the Panel on the Wall:Align the panel with your marked guidelines. Press firmly, starting at the center and working outward to ensure full contact.
- Check Alignment: Use a spirit level to ensure the panel is straight before the adhesive sets.
- Repeat for Additional Panels: Continue attaching panels one by one, aligning edges carefully. Leave a small gap for expansion if recommended by the manufacturer.
Step 6: Finishing Touches
- Fill Gaps (if needed): Use caulk or filler to close any visible gaps between panels.
- Install Trims (optional): Attach finishing trims along the edges or corners for a polished look.
- Clean the Panels: Wipe down the panels with a damp cloth to remove any adhesive residue or dust.
Step 7: Allow Adhesive to Cure
- Follow the adhesive manufacturer’s instructions for curing time before applying pressure or decorating.
Maintenance Tips
- Clean panels with a soft cloth and mild detergent as needed.
- Avoid abrasive cleaners or tools that could damage the PVC surface.